Posted on

Installing a Self-Adhesive Sun Strip on a Vehicle Windscreen

Materials:

  • Self-adhesive sun strip
  • Clean cloth or rag
  • Mild soapy water in a spray bottle
  • Squeegee or credit card
  • Sharp utility knife or razor blade
  • Tape measure or ruler
  • Isopropyl alcohol or window cleaner
  • Masking tape (optional)

Procedure:

  1. Preparation:
    • Park your vehicle in a shaded area or indoors to prevent the sun from drying the soapy water too quickly.
    • Ensure the windscreen is clean from any debris or dirt. Clean it thoroughly using window cleaner or isopropyl alcohol and a clean cloth.
  2. Positioning:
    • Before removing any backing, position the sun strip on the outside of the windscreen to determine where you’d like it to sit.
    • Ensure it doesn’t obstruct the driver’s view. In the UK, this will be on the right side. The sun strip should be above the driver’s line of sight and should not interfere with any camera or sensors that are located near the top of the windscreen.
  3. Marking:
    • Once you’ve positioned the sun strip, use masking tape to mark the corners. This will serve as a guideline when you’re applying the strip.
  4. Application:
    • Mist the area of the windscreen where the sun strip will be applied with the soapy water. This allows you to move and position the sun strip more easily once it’s on the windscreen.
    • Peel the backing off the sun strip, revealing the adhesive side.
    • Carefully align the sun strip with your masking tape markers and apply it to the wet windscreen. The soapy water will allow you to slide and adjust the strip to the desired position.
  5. Smoothing Out:
    • Once the sun strip is in the desired position, use a squeegee or the edge of a credit card to press out any bubbles or wrinkles, working from the center outward.
    • The soapy water solution will help the squeegee glide smoothly across the sun strip. Ensure all edges are firmly stuck down.
  6. Trimming Excess:
    • Using a sharp utility knife or razor blade, carefully trim any excess sun strip material that extends beyond the edge of the windscreen. Ensure you cut in a smooth motion to prevent tearing.
    • When trimming near the pillars or edges of the windscreen, take extra care to not damage the rubber seals or the vehicle’s paint.
  7. Final Steps:
    • Once the sun strip is firmly in place and all excess material has been removed, go over the entire strip with the squeegee again to ensure a firm bond.
    • Let the sun strip dry according to the manufacturer’s instructions before driving or exposing the vehicle to extreme conditions.

Note: It’s essential to review any local regulations or laws related to window tinting or modifications in your area to ensure the sun strip is legally positioned and does not obstruct vision or safety features.

That’s it! Enjoy your newly installed sun strip and the shade it provides.

Posted on

Update October 2020

Well… WTF happened there then?

Last time I wrote a post I was over the moon about getting a fresh lease on new premises. That was January.

Two weeks before the big lockdown, my wife returned from a mini break in Southern Italy. Imagine the joy… Whilst waiting to collect her at the airport, the government changed its advice on returning from this area. The advice was isolate for 14 days. As I was collecting my wife and her friend from the airport, the sensible choice was to isolate with them.

Meanwhile our 16 year old son was advised by his school that if he saw his mum then he would not be allowed into school for 2 weeks. GCSEs looming he knew that taking 2 weeks out just wasn’t good for him. Sensible young man. Little did he know they’d be cancelled subsequently.

We were in a very fortunate situation where I was running my business from our old home. It meant there was still bedrooms set up. This coincided with the imminent move in date at the new premises. We spent the time packing up a house full of stock and office equipment ready for the new unit. Ok we did a lot of it quite drunk….

Basically, April fool’s day I got the keys and the country went into lockdown… What do you do? I started loading up my van and moving in. I wasn’t seeing anyone and the world was a quiet, serene place. It was somewhere around 16 van loads I shifted mostly on my own. I lost a bit of weight and gained some strength! Marvellous.

Sat down at my new set up, looking at the view over the fields out the front window. Van parked up in the back, YES! I’ve got a kick ass man cave. Bloody quiet though…

Hmm what to do?

Project Grubsta happened.

Posted on

Dubsta gets ready for new unit

Dubsta has a new home!

Since starting Dubsta in the summer 2019, we’ve been searching high and low for a suitable unit to house us. Although all our merchandise is handled independently from us, carrying out works on vehicles and components needs a decent space.

The owner of Dubsta, Ryan, runs another company too which needs space so finding something that suited both companies was a task. Having been out to see the building a couple of years ago, we already knew of its existence. At the time, it wasn’t going to work.

Since then, Ryan has bought a Volkswagen Transporter and created Dubsta!

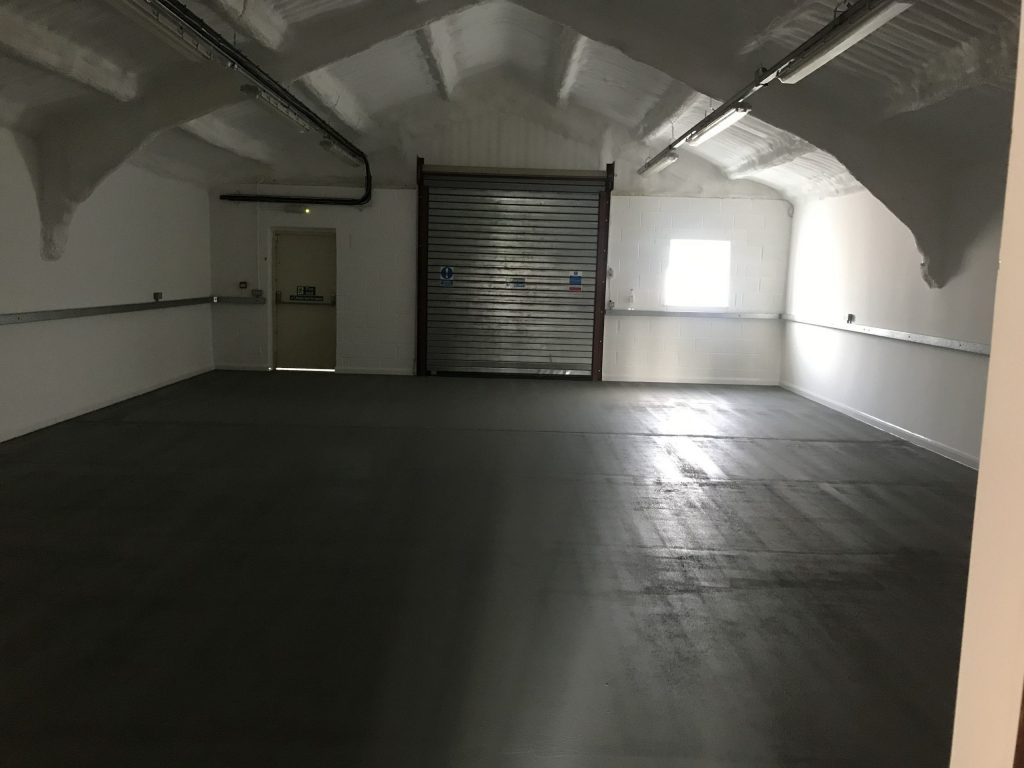
Now the game had changed, the unit was perfect in every way. It’s on a farm in a remote location near the A1 in Bedfordshire. The offices look out over fields and the warehouse in the back is large enough to contain all the stock and space required for the services Dubsta is going to be rolling out in 2020.

Ryan’s got tons of experience in design, graphics and industrial coatings. Bring those particular skills together and the service offered becomes pretty niche!

Imagine wheels with the dubsta logo set into the powdercoat.

Dubsta

Imagine refurbished metal containers powdercoated to your spec and even with your own graphics laid into the powder.

Dubsta

Imagine hydrodipping your own design onto components or matching your toys up with hydrodipped patterns.

Dubsta

Imagine side bars, roof rails or even seat bases powdercoated to match your van theme.

Dubsta
Dubstatron

You won’t have to imagine for much longer!

Posted on

Dubsta Showcase – Dubsta V.1

Dubsta is the name Ryan has given to his T5. This is his first VW van and something he’s wanted for a long long time. With a very specific set of needs, building this SWB Dubsta Transporter was always going to be challenging but Ryan’s not a guy who likes the sound of the word “no” or the phrase “you can’t do that”.

Posted on

Dubsta YouTube Channel goes LIVE!